So turns out over-engineering is a thing. It has taken me a while to finally update a part 2 for my remote controlled lights because I finally got it working and…well…it sucks. The battery lasts for like 4 days, my wiring was terrible so I ran into a lot of blinking LED issues and various other hardware problems, and I finally had to give into my fiancee laughing at me and showing me pictures of flashlights. But dammit when I start something I finish it, so I’m posting what I did here for posterity, so other fools can be warned away from this horrid endeavor. So here is how I finished my remote controlled lights, with a lot of vague hand waving since I forgot to take pictures of a lot of steps.
Remote
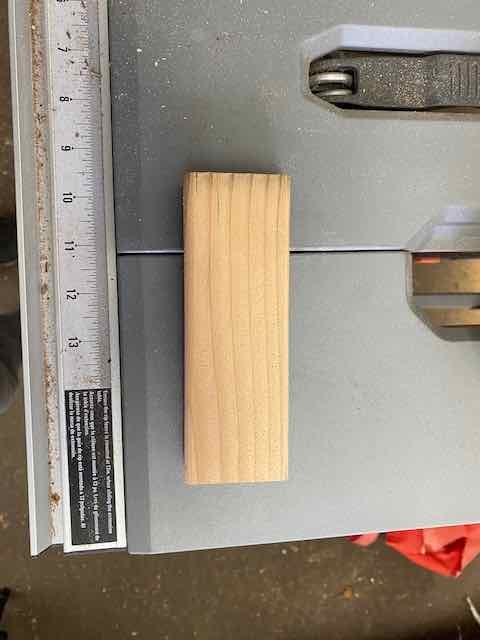
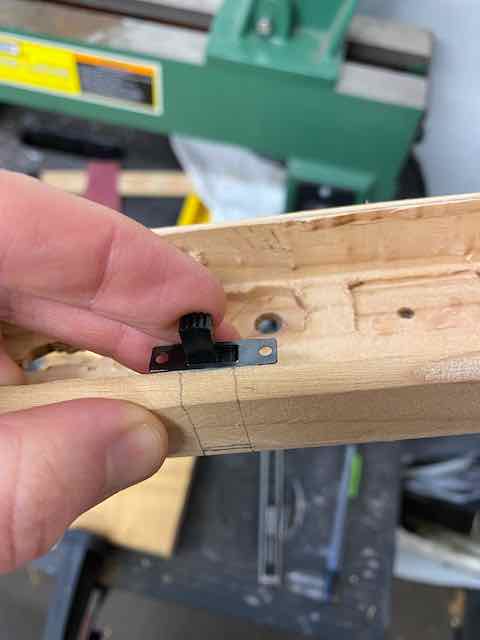
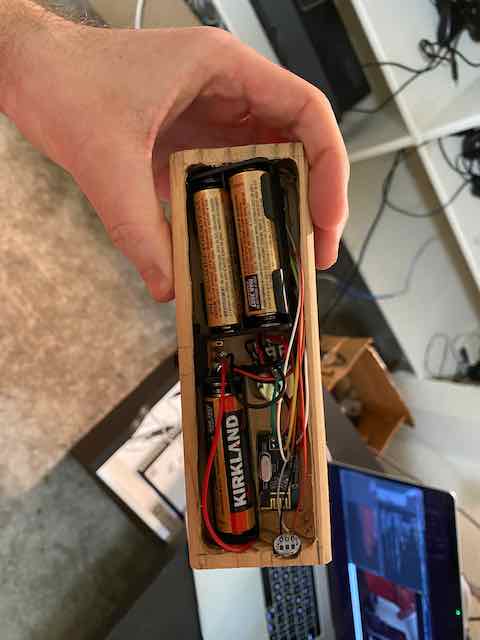
After I got the POC wiring all setup, I went on to making the housing for the remote control. To do this I found a small piece of wood and went to town with my Dremel and a router bit. It was…time consuming.
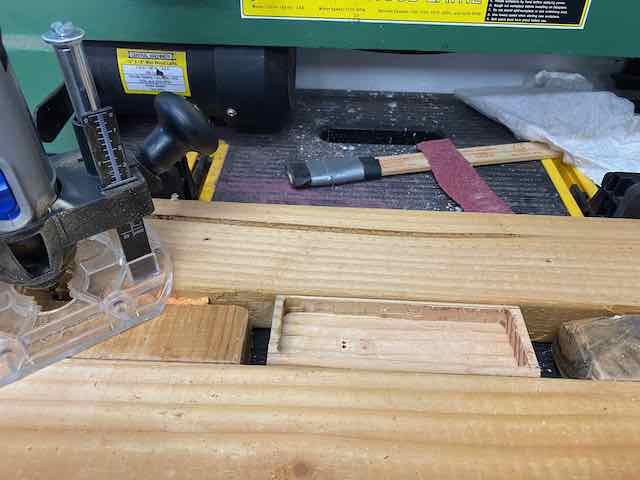
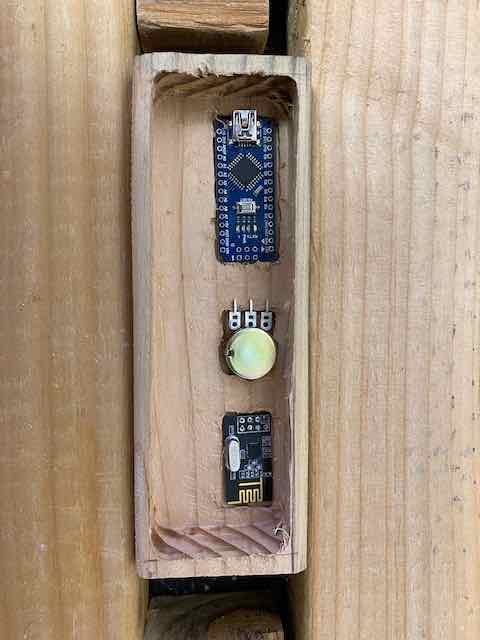
The remote required the potentiometer, an Arduino nano, 3 AA batteries, and one of the RF24 transceivers. So I traced all of the components into the new hollow cavity in my wood block, then routed out those sections. It actually worked out better than I expected.
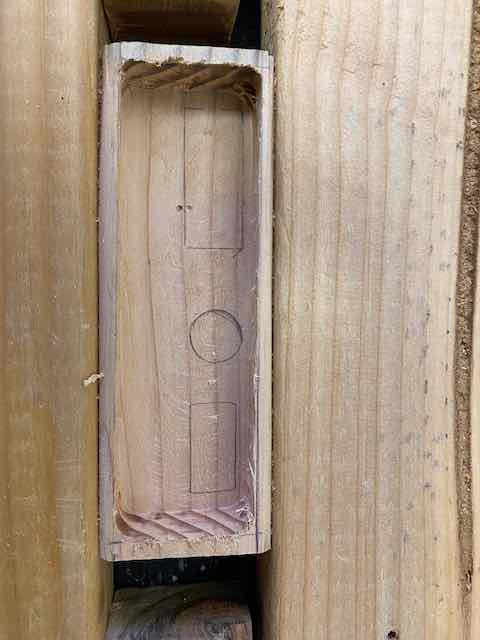

Next I needed the switch to turn the remote on and off, so I traced out the width of the switch and cut out a hole for it to sit in.
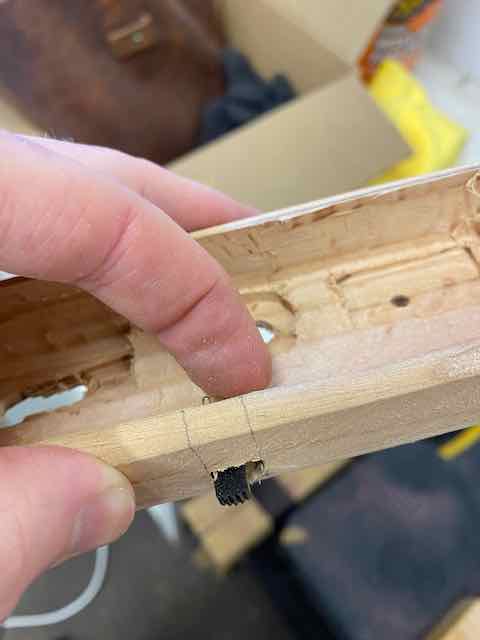
Finally we need the little LED that acts as a mini flashlight when the remote is on. Once again, I traced the component and cutout some slots for it.
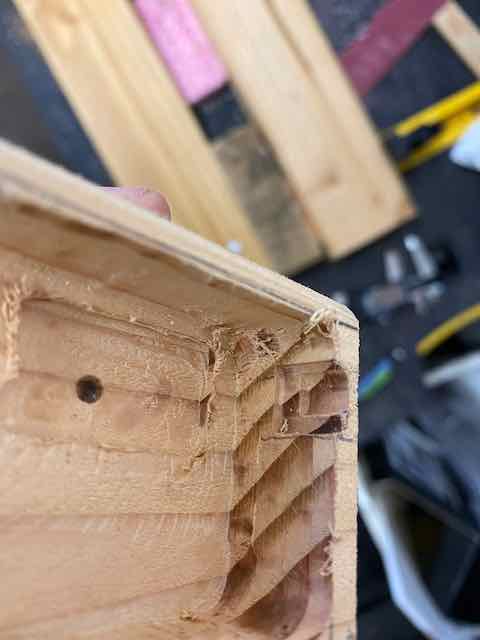
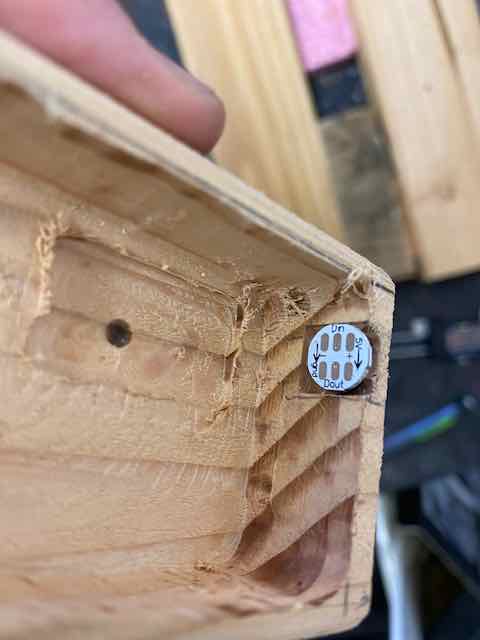
Next was my favorite part, I hot glued in the components and “wired” it up (heavy sarcasm on those quotes).
Finally I cut a thin piece of wood to act as the back plate and drilled some screw holes. Now the remote was fully assembled in all its glory.
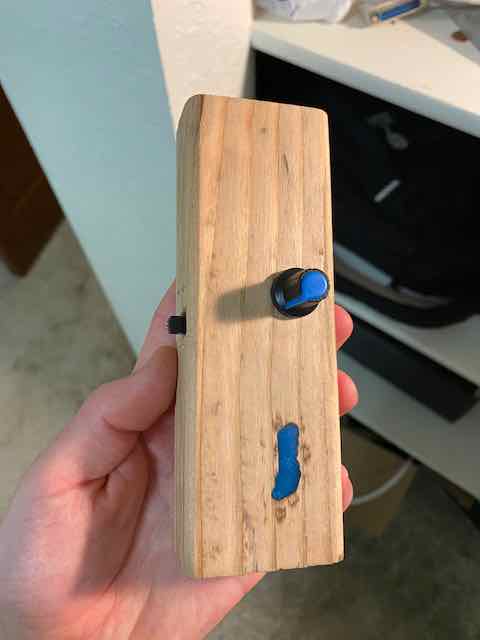
You’ll notice that fun little blue design in the remote. Well that is what happens when you don’t fully secure the router bit in your Dremel, so while you are happily cutting away wood and wondering why you are still getting resistance when you are going over a spot you already routed and you just keep going and end up with a weird shaped hole. Then you fill it with colorful epoxy and now it is a fun decoration. It even sparkles.
Receiver
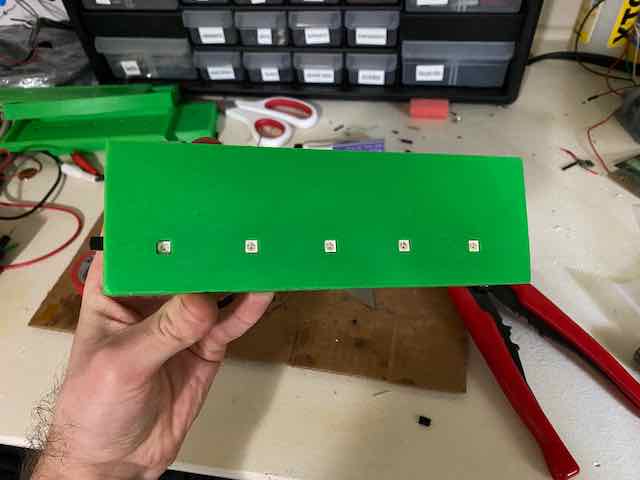
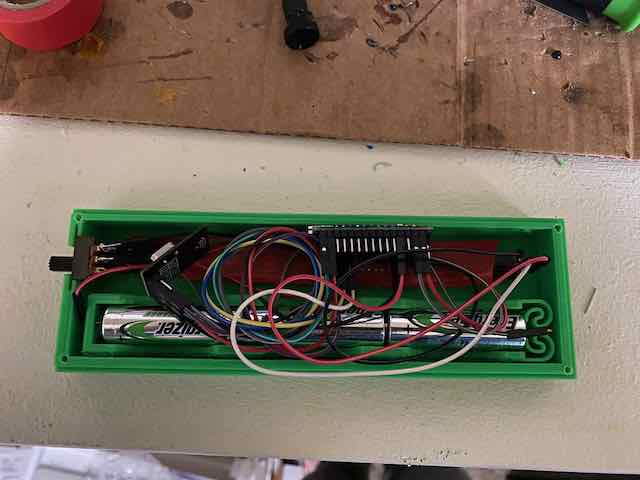
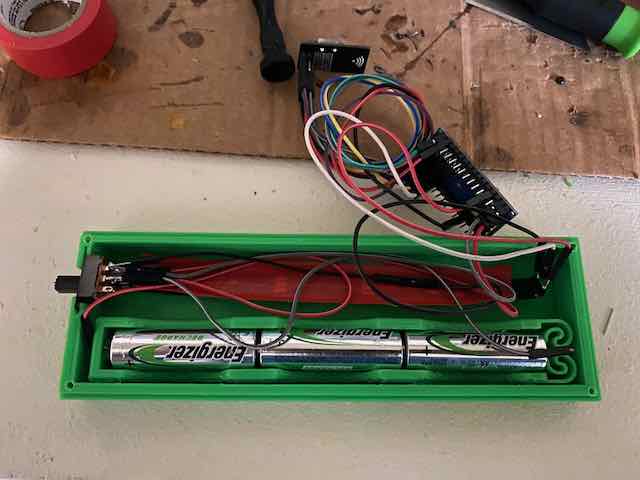
My original goal was to have all of the housing be made of wood. However, my second attempt at cutting and routing a piece of wood for the receiver proved… difficult. Lots of swearing and trips to my scrap pile yielded surprisingly little results so I decided to just 3D print the housing. This has the benefit of allowing me to avoid using those battery packs and instead print it right into the housing, and I can make little hollows for all of the components with the perfect slots for the LEDs! That was pretty rad, but I’m not the best 3D modeler out there. The design worked, but I wouldn’t say I recommend it. To make it I utilized this awesome flexible battery holder and jammed it into a box that fit all of the other stuff that needed jamming. Here are the STL files for the box and cover for perusal/mocking.
And there you have it, a very expensive way to light up a small room. But hey, I learned a lot about the RF24 transceivers and what it takes to make something actually energy efficient, so that was fun.